Help
Home Screen
Overview
The Overview section gives you a quick summary of your activity for the current week. Here you can see how many workouts and exercises you have completed, as well as your current streak. The streak is calculated by how many days in a row you've completed a workout.
On the right side of the Overview card you will find two action buttons:
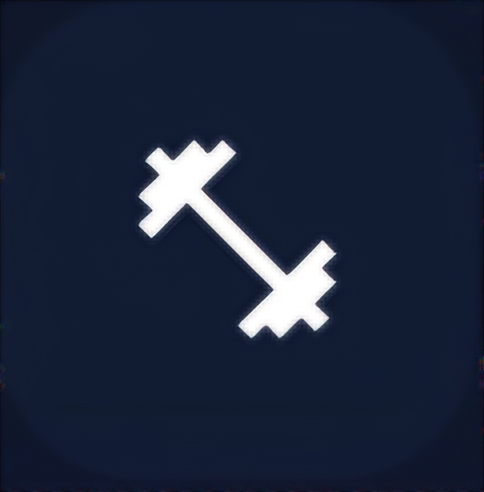
 Start Workout
-
The start workout button immediately starts a new workout so you
can begin
training right away.
Start Workout
-
The start workout button immediately starts a new workout so you
can begin
training right away.
 Choose Template
-
The second button lets you select a workout template to quickly
start a
predefined routine.
Choose Template
-
The second button lets you select a workout template to quickly
start a
predefined routine.
Last Workout
The last workout will show you the last workout you've completed. You can press it to view the complete workout.
If no workouts have yet to be completed, a start workout button will show up. You can use this button to start your first workout.
Nutrition
The Nutrition section gives you a quick summary of your total calories and protein that you've consumed today. This will be displayed in the progressbar and the text above it. Without a goal, the calories will be set to 2600kcal and the protein to 150g. Please note that these values might not be right for you. Calculate or add your goals in the nutrition screen.
On the right side of the Nutrition card you will find two action buttons:
 Add Meal
-
The add meal button will let you quickly add a meal by looking for it online, or creating
your own.
Add Meal
-
The add meal button will let you quickly add a meal by looking for it online, or creating
your own.
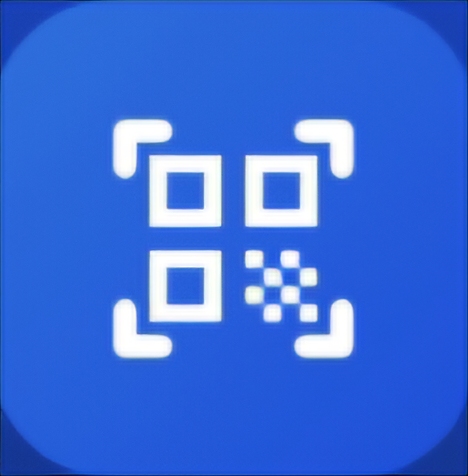
 Scan Barcode
-
The Barcode button lets you scan a barcode on a product. The app will try to find that
product in a database.
Not all products are registered. If the app can't find your product, it will give you a
notification to add the product
manually.
Scan Barcode
-
The Barcode button lets you scan a barcode on a product. The app will try to find that
product in a database.
Not all products are registered. If the app can't find your product, it will give you a
notification to add the product
manually.
Tutorial
When first starting the app, it gives you an option to start a tutorial. This will show you the basics of the app. Missed it or need a quick refresher? Just head to the settings and reset the tutorial. It will show up on your Home Screen again.
Daily Weigh-Ins
To help you with your weight goals, we give you a daily reminder to weigh yourself. The reminder has an ? icon in the top right. The reminder can be disabled by pressing this buttons or heading to the settings. The weight section gives you more information about your weight and how to track this.
Workout Screen
Action Buttons
The Action Buttons will quickly let you navigate to different screens. Below is an explanation for each button.
 Start Workout
-
The start workout button immediately starts a new workout so you can begin
training right away.
Start Workout
-
The start workout button immediately starts a new workout so you can begin
training right away.
 Template
-
The second button lets you select a workout template to quickly start a
predefined routine.
Template
-
The second button lets you select a workout template to quickly start a
predefined routine.
 History
-
The third button will let you view all the workouts you've previously completed. You can
filter workouts to find them easier. By pressing on a workout you can view the details and
even edit them.
History
-
The third button will let you view all the workouts you've previously completed. You can
filter workouts to find them easier. By pressing on a workout you can view the details and
even edit them.
 Exercises
-
The fourth button navigates you to the Exercise Screen. Here you can change,
add and delete
all your exercises. We've given you a few exercise to start with. Feel free to delete
everything and completely start over!
Exercises
-
The fourth button navigates you to the Exercise Screen. Here you can change,
add and delete
all your exercises. We've given you a few exercise to start with. Feel free to delete
everything and completely start over!
Recent Workouts
In the recent workouts section your 3 latest workouts will show up. You can tap them to view the whole workout.
Monthly Activity
In the monthly activity chart you can view the amount of workouts you've done each month in the selected year. You can use the chevron buttons to change the year you're viewing.
Nutrition Screen
Action Buttons
The Action Buttons will quickly let you navigate to different screens. Below is an explanation for each button.
 Goals
-
The app lets you completely customize and make your own goals. Pressing this
button will show
you a dropdown with 'Calculate Goal' and 'Add Manually'. If you're an experienced athlete and
know how many calories, protein, carbs etc. you should be eating, you can select this button. If
you're not that experienced and would like some help, you can use the 'Calculate Goal button'.
By filling in some information about yourself, like your length, age and activity level the app
can help you with setting your goals.
Goals
-
The app lets you completely customize and make your own goals. Pressing this
button will show
you a dropdown with 'Calculate Goal' and 'Add Manually'. If you're an experienced athlete and
know how many calories, protein, carbs etc. you should be eating, you can select this button. If
you're not that experienced and would like some help, you can use the 'Calculate Goal button'.
By filling in some information about yourself, like your length, age and activity level the app
can help you with setting your goals.
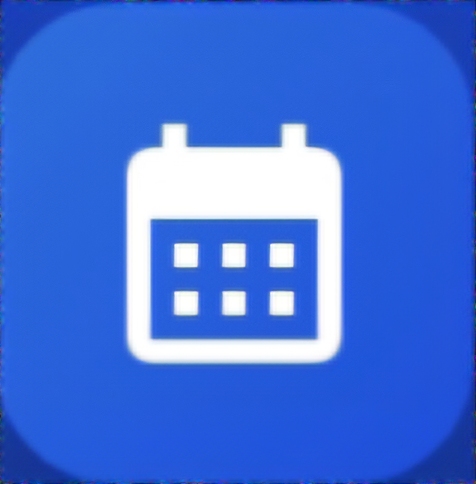 Date
-
The date you're viewing will normally be set to today. You can change the date using the
calender button. Each day you've filled in your nutrition will be saved. Using this button you
can review when you've reached your nutrition goals. You can also use the chevron buttons next
to the date to go back and forth quicker.
Date
-
The date you're viewing will normally be set to today. You can change the date using the
calender button. Each day you've filled in your nutrition will be saved. Using this button you
can review when you've reached your nutrition goals. You can also use the chevron buttons next
to the date to go back and forth quicker.
 Barcodes
-
Like on the Home Screen, the Nutrition Screen also has a barcode scanner. You can easily find
the
products you've consumed by scanning their barcode. The app uses a very wide variety of products
for different countries.
Barcodes
-
Like on the Home Screen, the Nutrition Screen also has a barcode scanner. You can easily find
the
products you've consumed by scanning their barcode. The app uses a very wide variety of products
for different countries.
Charts
The Charts will give you a good overview of how much you've consumed during the day. The calorie chart will always be visible, but for the protein, carbs, fats and sugar this can be changed in the settings. If you've left out any of the nutrition while adding a goal manually, these charts will not show up either.
You can tap on the charts to see how much each product contributed to the total percentage (except for the calorie chart). Tapping the chart will bring you to a new screen, where the products will be sorted from contributing the most to contributing the least
Product List
The Product List shows you what products you've added during the day.
 Products
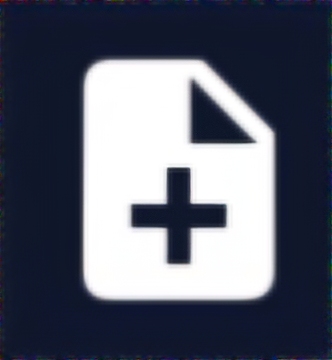
-
You can add a product by pressing the + button in the bottom right.
Products
-
You can add a product by pressing the + button in the bottom right.
Each product that is added can also be edited or removed. Tapping on a product lets you edit or remove it. It also shows you the nutriments for that specific product. The amount can be changed manually by pressing the grams square, or you can choose one of the specified values below it. The amount is always specified in grams. You can also swipe right on a product in the product list to remove it.
If you often consume the same products, going back in time using the calender button let's you copy a single product to today by tapping on it. You can also copy all products to today by using the 'Copy all to today' button in the top right of the product list. Note: These buttons only show up when the date is not equal to today.
Achievements
You can unlock Achievements by staying consistent.
Progression
In the top of the screen you can view your progression. It will show you the amount of attainable achievements and the amount of achievements you've unlocked.
Achievement
Below the progression, you can view all the unlockable achievements. When the achievement is locked, a lock icon will appear in the top right. Whenever you've unlocked an achievement, this icon will disappear. You can tap on the achievements to see what tasks you need to complete in order to unlock them.
Achievements are a great way to keep you motivated. It makes you feel like you've challenged yourself to keep progressing. That's the feeling we all want you to have! More achievements will be added in the future.
Profile
The Profile page is a great place to customize the app to your liking and track your progress.
We think it's important to personalize the app to you. By pressing the pencil mark in the top right of the screen, you can edit your profile. Add your name, birthday, gender and body metrics. This will also make it easier to calculate goals.
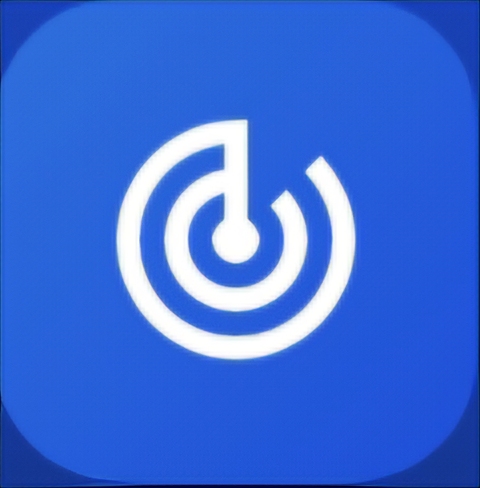
 Personal Records
-
It's important to keep track of your personal records(PR's). By clicking on this button the app
takes you
to the Personal Records Screen. Here you can select an exercise to view your PR's during
a specific time. You can use the Month - Year slider in the top right, to change the period.
Changing it to month will show you on what day during that month you've achieved a PR
for the selected exercise. Changing it to year will show you the highest PR of each month.
Personal Records
-
It's important to keep track of your personal records(PR's). By clicking on this button the app
takes you
to the Personal Records Screen. Here you can select an exercise to view your PR's during
a specific time. You can use the Month - Year slider in the top right, to change the period.
Changing it to month will show you on what day during that month you've achieved a PR
for the selected exercise. Changing it to year will show you the highest PR of each month.
 Goals
-
In other screens you've seen that you can change your goals. Here you can view the specific details
of the goals you've set or calculated. You can also edited your goals.
Weight
-
Whether you're losing or gaining weight, it's important to keep track of this. In the Weight Screen
you get a perfect overview of your weight for each day and month. This let's you go back in time to
see the progress you've made. It's important that you always weigh yourself at the
same time of each day. The best time to weigh yourself is before you have breakfast. It's normal to
see fluctuations in your weight even when you're trying to lose some kilo's. You have to look at the
bigger picture and the charts lets you do that.
Goals
-
In other screens you've seen that you can change your goals. Here you can view the specific details
of the goals you've set or calculated. You can also edited your goals.
Weight
-
Whether you're losing or gaining weight, it's important to keep track of this. In the Weight Screen
you get a perfect overview of your weight for each day and month. This let's you go back in time to
see the progress you've made. It's important that you always weigh yourself at the
same time of each day. The best time to weigh yourself is before you have breakfast. It's normal to
see fluctuations in your weight even when you're trying to lose some kilo's. You have to look at the
bigger picture and the charts lets you do that.
 Inbox
-
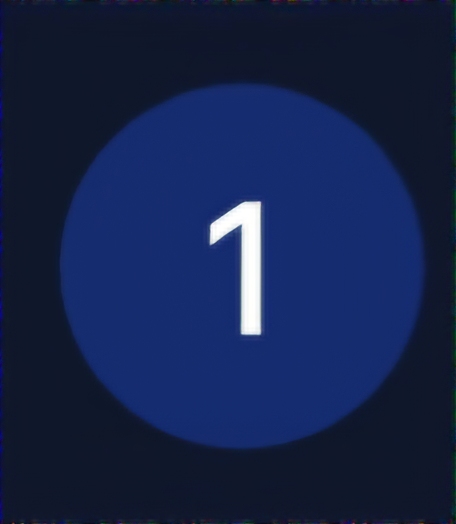
We send you notifications for PR's, but also weekly overviews of workouts and nutrition. You can
view all those notifications in the inbox. If you have any unseen notifications, a blue circle with
the amount of unread notifications will show up in the top right.
Inbox
-
We send you notifications for PR's, but also weekly overviews of workouts and nutrition. You can
view all those notifications in the inbox. If you have any unseen notifications, a blue circle with
the amount of unread notifications will show up in the top right.
 Settings
-
We think it's important that you get to customize the app as much as possible. In the Settings
Screen you can change everything from getting notifications to charts, timers etc.
Settings
-
We think it's important that you get to customize the app as much as possible. In the Settings
Screen you can change everything from getting notifications to charts, timers etc.
Templates
Templates can be a quick way to start your workouts. But what are they?
Explanation
A template is a blueprint for your workout. If you like training the same thing, templates make your life a lot easier. Instead of having to add each exercise over and over again, you can now make a blueprint with the exercises you want to do and the amount of sets.
For example: You have a chest day with 4 exercises that you never change. You can add those 4 exercises to a template and select the amount of sets for each exercise. By starting the workout with a template, all exercises and sets will already be in the workout.
While creating a template you can add exercises with the 'Add Exercise' button. When an exercise is added, each exercise will show a number with a + and - button next to it. The number represents the amount of sets. Control the amount of sets with the + and - buttons next to it. To remove an exercise, simply just swipe right!
You can create as many templates as you want for free!
New Workout
A New Workout can be started in a multiple different ways. You can start them from the homescreen by pressing the '+' button and you can start one from the workout screen by tapping on the 'Start Workout' button.
When you've started a new workout the app will navigate you to a different screen, the new workout screen. Here you can edit the name of the workout by pressing the 'New Workout' text in the top of the screen.
Want to do other stuff in the app? No worries! Just press the arrow button in the top left. Your workout will saved until you either save or cancel it. The same goes for when you leave the app or complete close it.
Exercises
A workout consists of exercises. While you're in the new workout screen, you can add one by pressing the '+' button. Here you can look for and select the exercise you want to do.
After selecting an exercise, it will bring you back to the new workout screen. Here you can add sets, remove them, start the rest timer and more. This will be explained in the 'Sets' section.
 Notes
-
You can add notes to help yourself remember how you've executed a set or exercise during the
workout. An example can be: 'Set 1: Focussed on slow negatives'. You're free to write whatever
you need here.
Notes
-
You can add notes to help yourself remember how you've executed a set or exercise during the
workout. An example can be: 'Set 1: Focussed on slow negatives'. You're free to write whatever
you need here.
Sets
A set consists of multiple aspects that will be explained in this section.
 Details
-
There are multiple ways to execute a set. On the left of the set there will be an index. You can
press on this index and a dropdown will show. You can select 'Normal' if you've
executed the set
like you usually do, nothing special. You can select 'Failure' if you've
completed the sets by
pushing yourself as hard as you could. No more repetitions were possible. You can select
'Dropset' if you've dropped the weight after you couldn't do any more
repetitions. When you select 'Dropset' more dropsets will show up were you can
fill in the weight.
Details
-
There are multiple ways to execute a set. On the left of the set there will be an index. You can
press on this index and a dropdown will show. You can select 'Normal' if you've
executed the set
like you usually do, nothing special. You can select 'Failure' if you've
completed the sets by
pushing yourself as hard as you could. No more repetitions were possible. You can select
'Dropset' if you've dropped the weight after you couldn't do any more
repetitions. When you select 'Dropset' more dropsets will show up were you can
fill in the weight.
 Completion
-
You can complete a set by pressing the check button. When you do, the timer will disappear to
make everything look neater. It's also a good way to have a overview of what sets you've
completed.
Completion
-
You can complete a set by pressing the check button. When you do, the timer will disappear to
make everything look neater. It's also a good way to have a overview of what sets you've
completed.
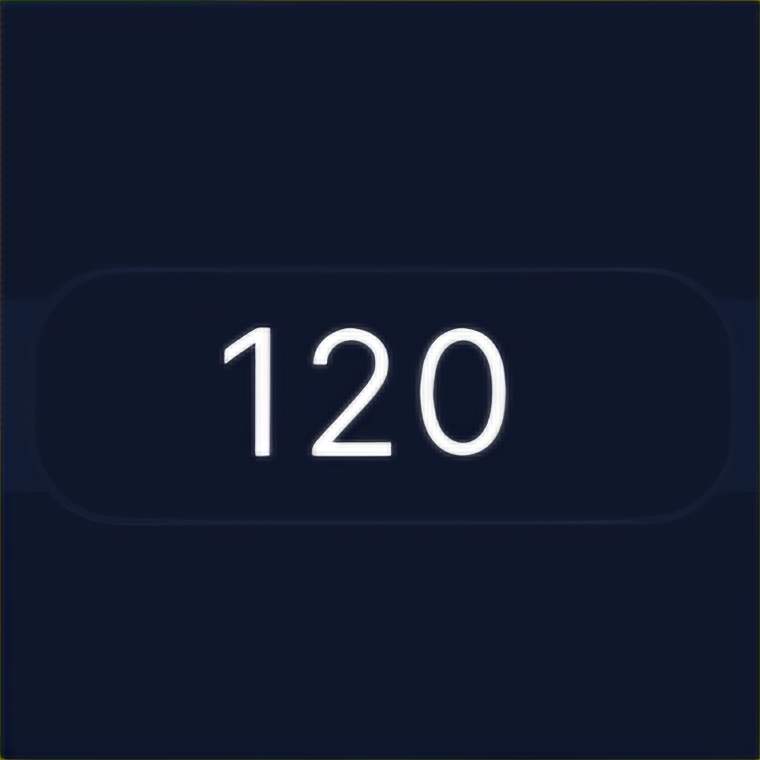 Timer
-
A set will have a timer. This timer will be set to 120 seconds. You can change the seconds by
pressing on them. You can also change the seconds in the settings. This
let's you change the seconds for all set instead of one. Don't want a timer at all? That's also
possible to change in the settings.
Timer
-
A set will have a timer. This timer will be set to 120 seconds. You can change the seconds by
pressing on them. You can also change the seconds in the settings. This
let's you change the seconds for all set instead of one. Don't want a timer at all? That's also
possible to change in the settings.
Products
You can add Products in a few different ways. The first way is by scanning a barcode like explained in the previous seconds. The second way is by pressing the knife and fork button in the nutrition section on the home screen. The third way is by pressing the '+' button on the nutrition screen. Both ways will take you to the page where you can add a product.
Your Products
The fastest and easiest way to find your products, is by looking in the 'Your Products' tab. All the products you've either looked for online or added manually, will show up here. These products are also stored locally on your device. Adding them barely takes any time.